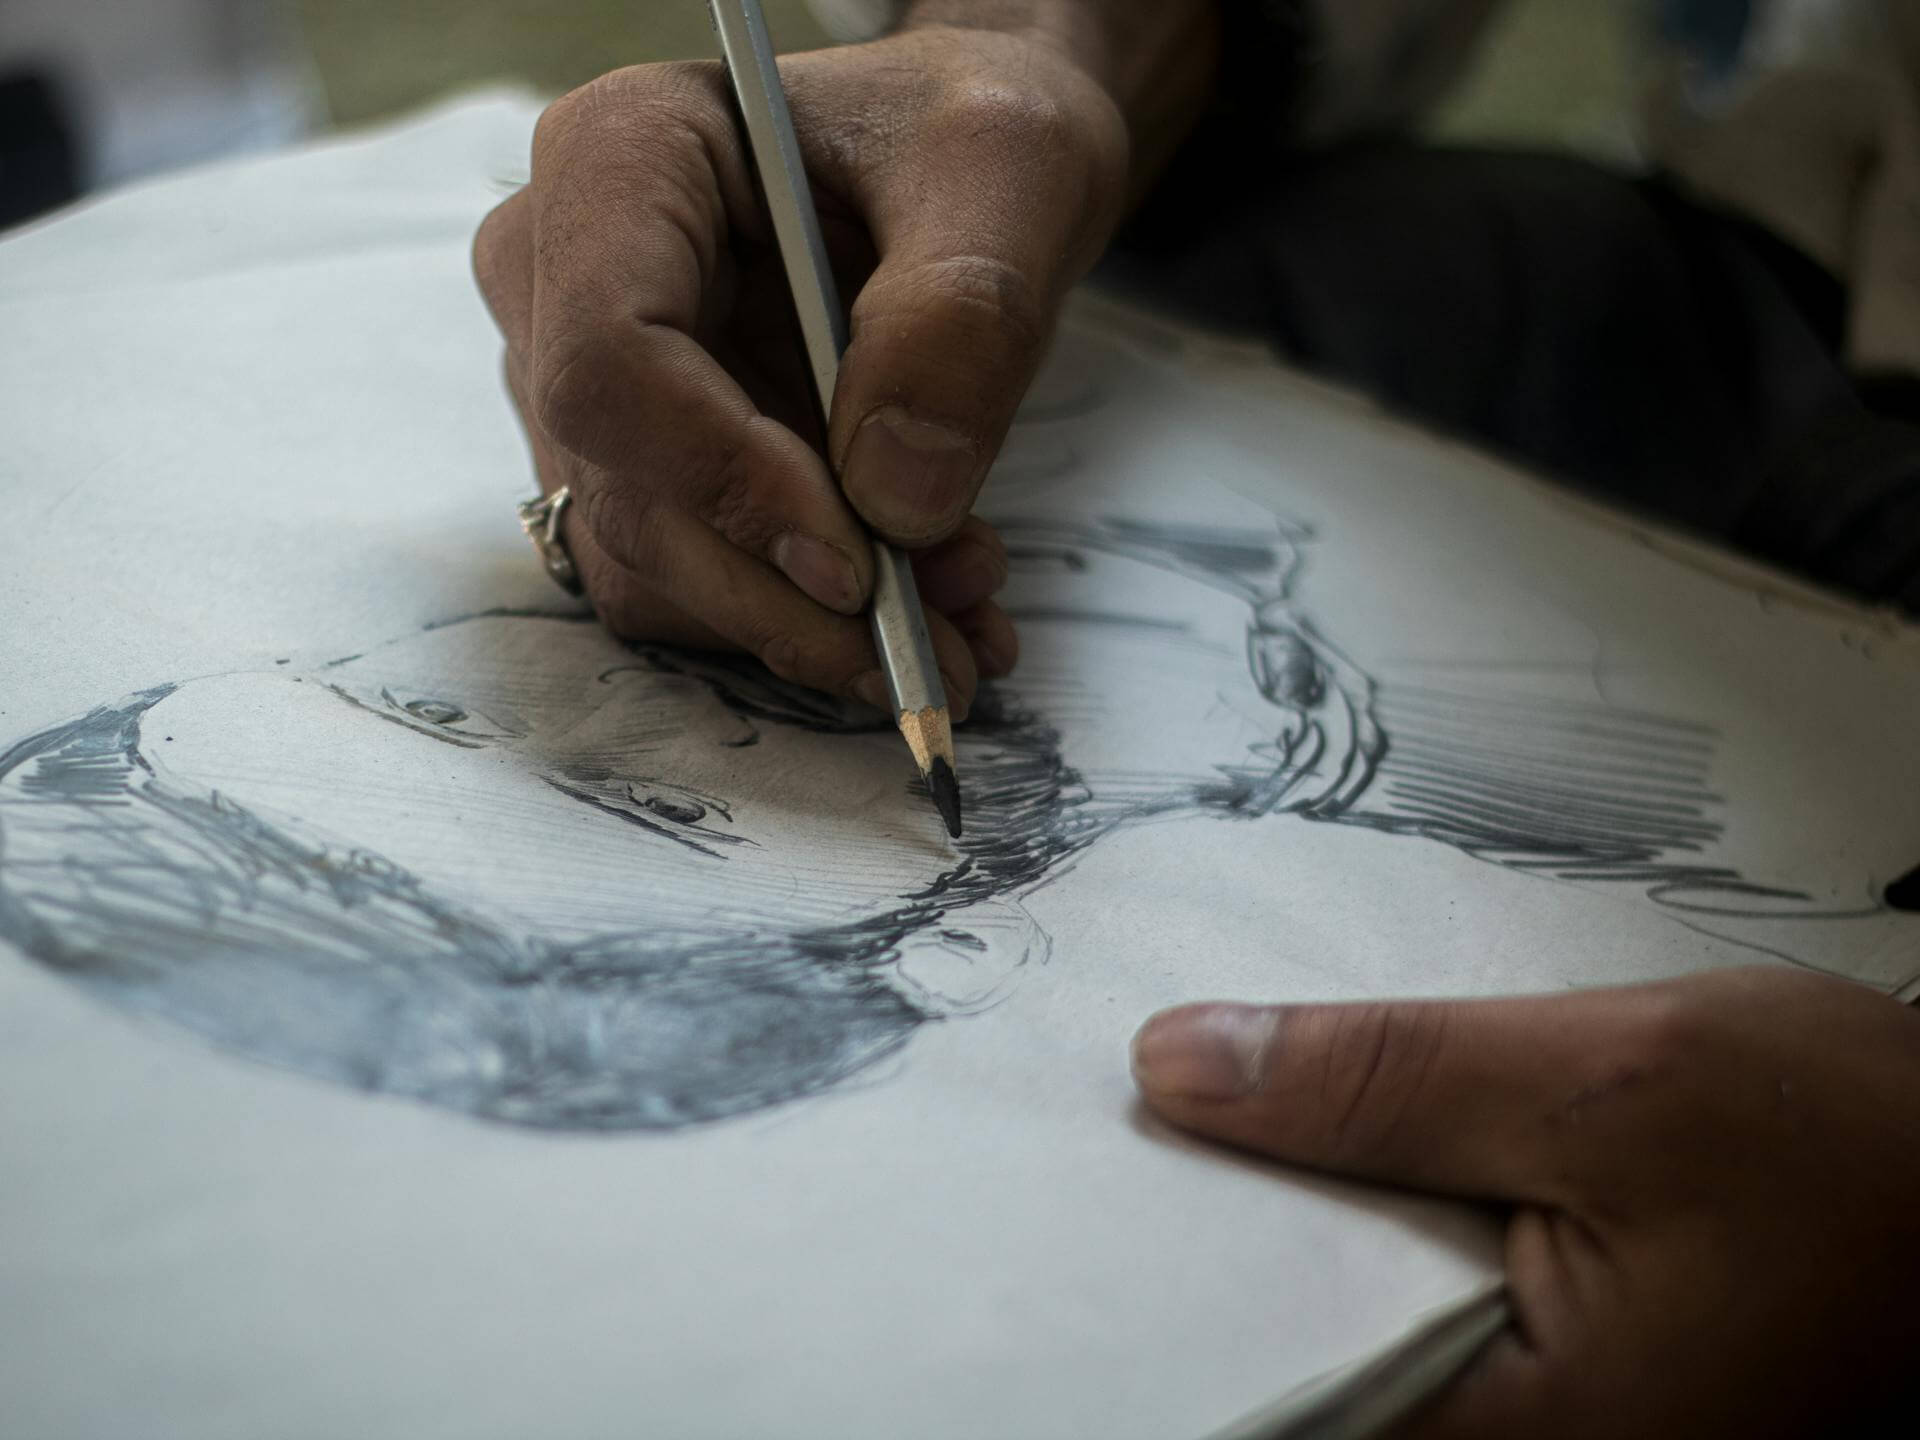
Creating expressive portraits requires more than just capturing a likeness—it’s about building a strong foundation, understanding structure, and refining details to convey emotion effectively.
Using the construction drawing method and Loomis principles, beginners can approach portraiture with confidence, breaking down complex forms into manageable steps. This guide will walk you through essential techniques to develop expressive, well-proportioned portraits.
1. Start with the Basics of Proportions
Before diving into details, establish the overall shape and proportions of the head. Working from large forms to smaller details ensures accuracy and a strong foundation.
Construct the Head Shape
- Begin with a basic oval or egg shape to represent the skull.
- Lightly draw a vertical centerline to align facial symmetry and a horizontal eye-level line to position the features correctly.
- Use the Loomis method to break the head into simplified planes, allowing for a structured approach to depth and proportion.
Block In Major Shapes
- Focus on the jawline, cheekbones, and hairline rather than individual features.
- Identify large shadow patterns early, grouping light and dark values to establish depth.
Map Key Proportions
Using standard proportions as a guide:
- The eyes sit along the horizontal centerline.
- The nose is about halfway between the eye line and chin.
- The mouth is positioned slightly above the chin, following the curvature of the face.
Observing your subject closely will help you adjust these placements for individuality.
2. Refine the Structure and Planes
Once the foundational forms are in place, refine them by thinking of the face as a three-dimensional structure rather than a flat surface.
Define the Planes of the Face
- Break the head into simplified planes—forehead, cheekbones, jaw—to add volume and structure.
- Pay attention to angle shifts, especially in three-quarter views where perspective affects proportions.
Observe Values and Light Sources
- Identify light and shadow areas to enhance form and depth.
- Block in shadows before adding details, ensuring the structure remains solid.
By refining the head through planes and tonal relationships, you create a sculpted effect that enhances realism and expression.
3. Add Features with Precision
Once the structure is set, gradually refine facial features, always checking their placement against the overall proportions.
Eyes and Eyebrows
- Place the eyes within the pre-established eye sockets.
- Pay attention to the tilt and curvature of the eyebrows, as they heavily influence expression.
- Lightly outline the iris and pupil, ensuring they align with the light source for a natural look.
Nose and Mouth
- Build the nose using planes, starting with the bridge and refining nostrils through shading.
- For the mouth, observe how lips wrap around the form of the face, considering the influence of light and shadow.
Final Refinements
- Add details gradually, focusing on the subtle shifts that define personality and emotion.
- Incorporate reflections in the eyes, skin texture, and fine hair strands without overworking the drawing.
4. Mastering Expression and Emotion
Expression is what brings a portrait to life. To capture emotions effectively:
- Study facial expressions in a mirror, from slight smirks to dramatic reactions.
- Break down expressions into key movements of the eyes, mouth, and brows.
- Exaggerate slightly to enhance emotion while maintaining realism.
5. Experiment with Different Mediums
While pencil is a great starting point, other mediums can add depth and emotion:
- Charcoal for dramatic, high-contrast portraits.
- Colored pencils to introduce vibrancy and enhance mood.
- Ink and washes for bold, expressive effects.
6. Practice, Observe, and Improve
Consistent practice is key to improving expressive portraiture. Make it a habit to:
- Sketch daily, focusing on speed and accuracy.
- Study master portrait artists, analyzing how they handle structure and expression.
- Observe real-life expressions, noting subtle changes in different emotions.
Final Thoughts
Expressive portraiture isn’t just about drawing faces—it’s about capturing the essence of human emotion through structure, light, and form. By following a construction-based approach, refining proportions, and mastering shading techniques, you’ll develop the skills to create portraits that feel alive and engaging.
Patience and observation are your best tools—embrace the process, and enjoy the journey of expressive portraiture!

